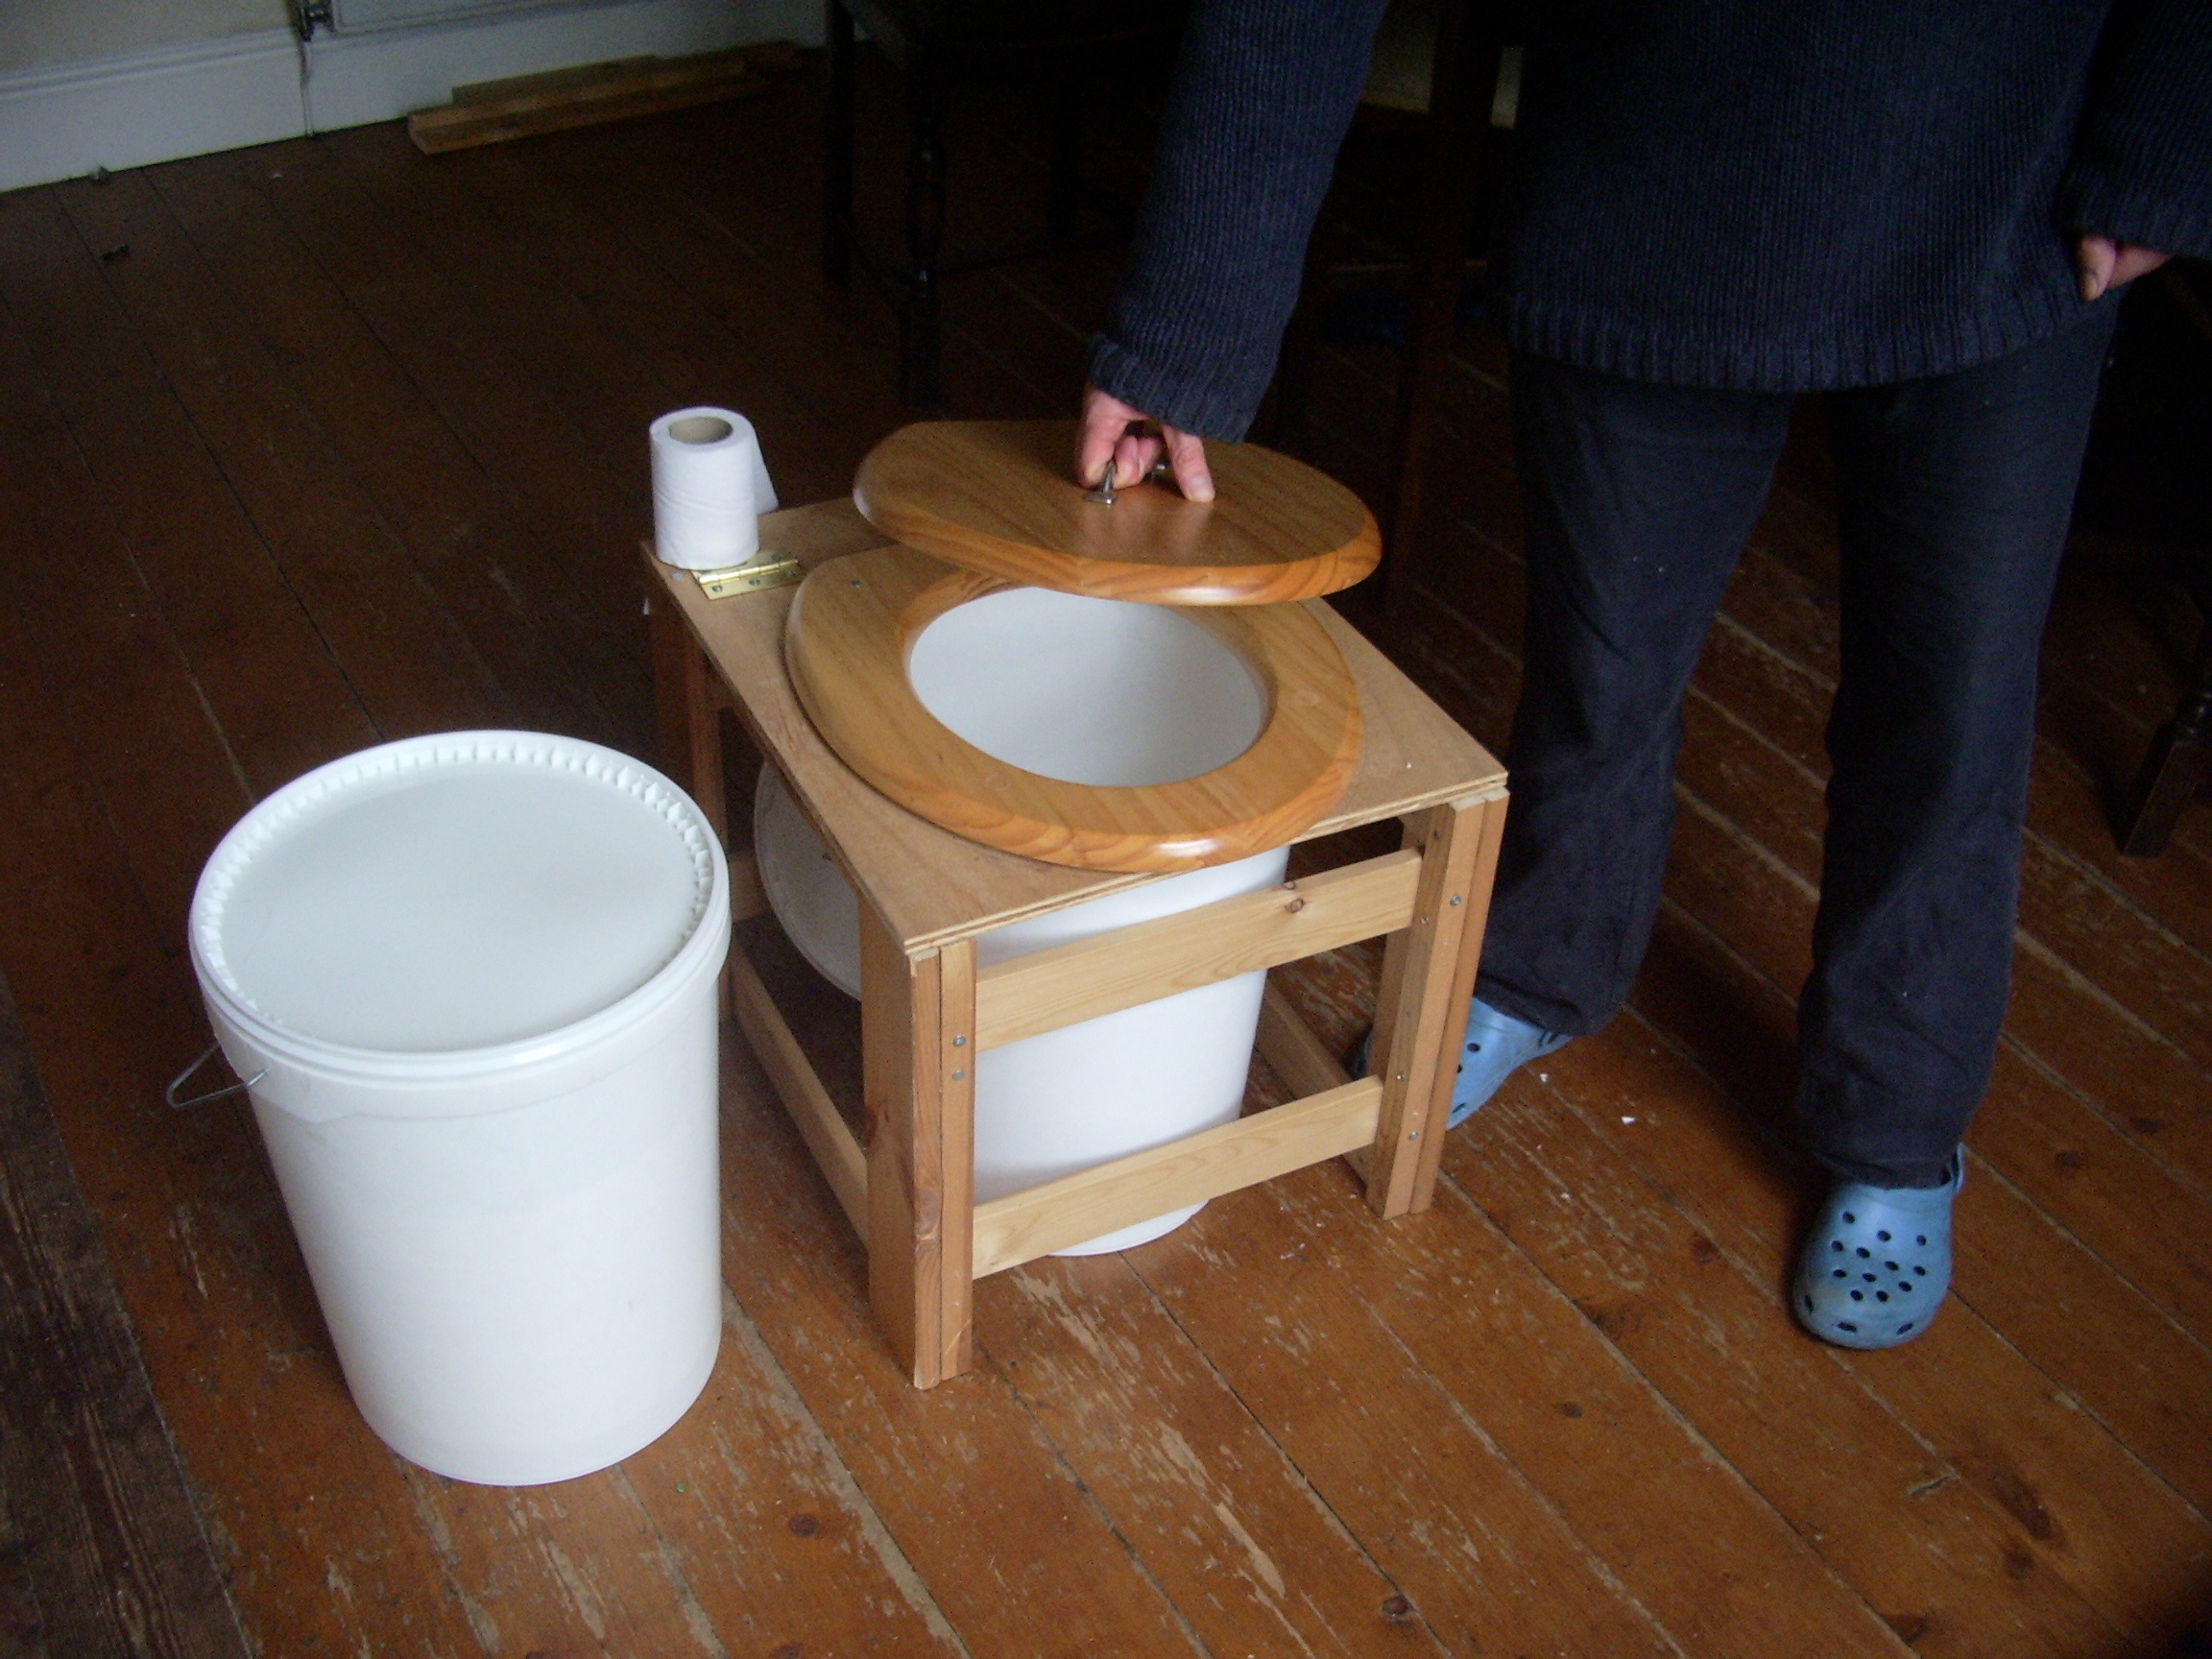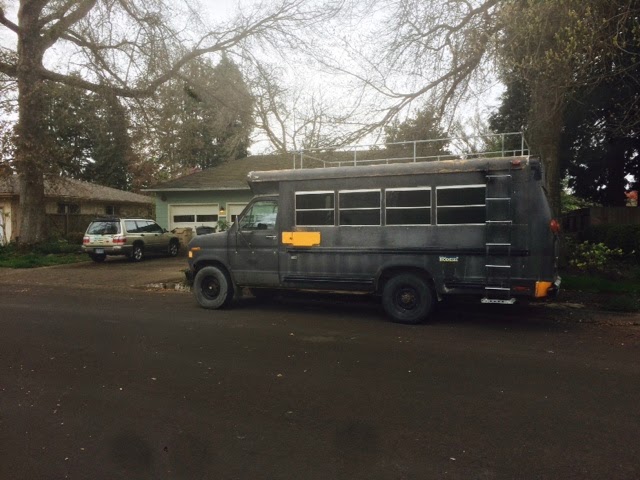
The big difference between a diy toilet and a commercially made toilet is what you dump out of it when it's getting full. Unlike a diy toilet where you're dumping poop that has yet to be composted, a commercial composting toilet does the composting for you and you're just dumping dirt! This makes things not only less gross but way simpler when it comes to where you can dump. While poop that has yet to be composted needs to be dumped in a compost bin the already composted poop, or 'humanure' can be dumped wherever. Looking realistically at my composting options I know I won't always live somewhere where I can have my own compost heap meaning a toilet like this is probably a good option for me.
There are a few main brands of composting toilets you can purchase. I've put together a pro/con list for each one.
Envirolet

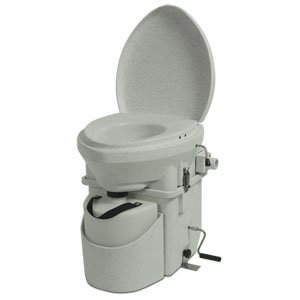
Nature's Head
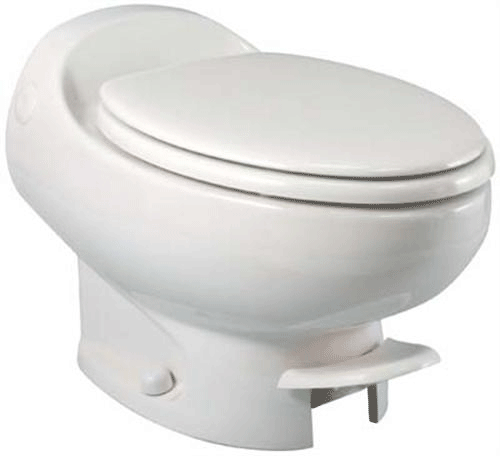
Sun Mar

Biolet

Air Head
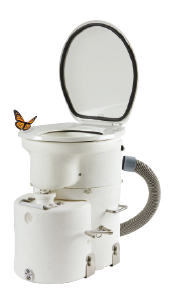
Comparing this collection of toilets the two that really jump out are the Nature's Head and the Air Head. On the Air Head website they compare their toilet directly to the Nature's Head and show how it solves two problems of the Nature's Head, the fact you can see the urine in its container and how you need to open the solid's container when you want to empty the liquid. It is likely that the liquids will need to be emptied more often than the solids so it could be an annoying detail to have to open the solids more often than necessary. While the Nature's Head is slightly less expensive I think those two details would make it worth it to buy the Air head instead.
I've still got a bit more research to do but at the moment its looking like the Air Head may be the toilet for me!
♥
Mer.
There are a few main brands of composting toilets you can purchase. I've put together a pro/con list for each one.
Envirolet
Pros: Can be used with no electricity (using wind for ventilation), regular electricity or with a solar setup that they sell.
Cons: Its huge. It costs over $2000.
Nature's Head
Pros: The lowest commercial price I've found - around $950. Compact. Easy to empty. Built for RV use.
Cons: Needs electricity to run a fan full time. Its not the pretties thing- you can see the urine when the tank is getting full.
Sun Mar
Pros: Not super huge like the Envirolet and is slightly less ugly than the Nauture's Head. Built for RV use.
Cons: Still not the best price, over $1000 and requires an overflow tank? ew.
Biolet
Pros: It looks pretty?
Cons: I don't think any of Biolet's products are suitable for RV use.
Air Head
Pros: Compact. Easy to empty. Can't see the urine.
Cons: Cost a tiny bit more than the Nature's Head (like $100 more making it around $1050). You have to use liners (basically coffee filters) when you poop.
Comparing this collection of toilets the two that really jump out are the Nature's Head and the Air Head. On the Air Head website they compare their toilet directly to the Nature's Head and show how it solves two problems of the Nature's Head, the fact you can see the urine in its container and how you need to open the solid's container when you want to empty the liquid. It is likely that the liquids will need to be emptied more often than the solids so it could be an annoying detail to have to open the solids more often than necessary. While the Nature's Head is slightly less expensive I think those two details would make it worth it to buy the Air head instead.
I've still got a bit more research to do but at the moment its looking like the Air Head may be the toilet for me!
♥
Mer.